A couple of months ago a friend let me know her son and DIL were having a baby and the shower would be at the end of April. My current chat-along on PR goes from sewing to cooking to whatever life throws at us. Lately a couple of the ladies have been quilting and on a whim, I started googling baby quilts. The group was very encouraging and I soon found myself at a local quilting shop.
So, there's lots of pics to follow - I figure I'd document the whole process.
There were a few tutorials I found starting with this one...the inspiration
It was not quite the simple pattern I was looking for LOL but the half-way stage where it was just all squares seemed easy enough. All these instructions produced my quilt top.
I needed 6 fabrics - the lady in the shop was VERY helpful. A good thing since I was lost looking at walls full of fabric. It's one thing to pick one piece for a garment, quite another to pick SIX that go together! She helped me round out all the choices and put them in a good visual order. I did rearrange them a few times but like her original order the best. Go figure - experience knows best :-)
Choices - baby is supposed to be a girl, so girly-ish colours

Strips sewn together

3 strip blocks ready for slicing

Laying out for placement - each row will need the appropriate number of squares cut off one end and reattached at the other

Partway done - the rectangle is forming - the pieces hanging still need to be shifted

16 rows ready for seaming

Quilt top all seamed and pressed - at this point I was pretty pleased with myself. Little did I know what was to come !

Next up - a trip for batting and backing. This is 1/4 size with everything all just folded over - gave me a good indication of the end product.

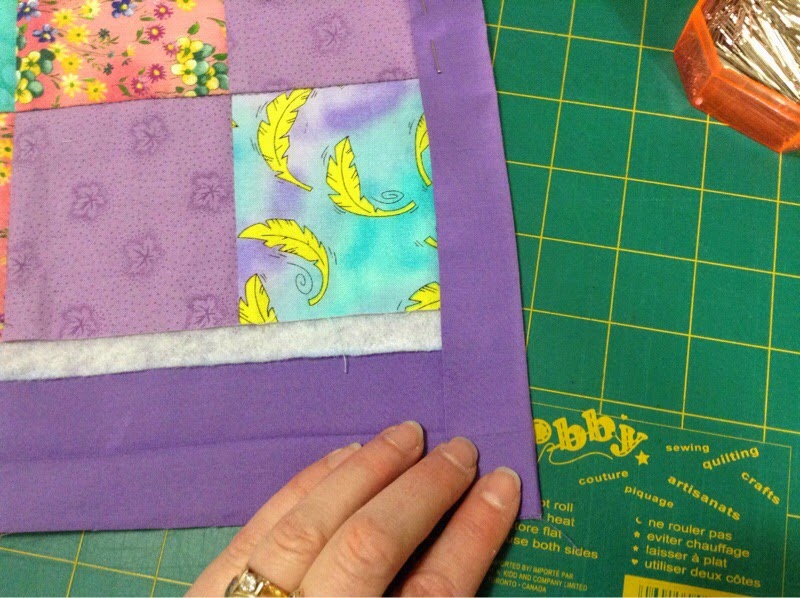
All 3 layers cut to size and ready for pinning/basting

Pinning went quicker than I thought but by the time I was finished there was a pin in every square. I had no idea if this was enough or if it was overkill, but this is where I decided to go ahead and start quilting.

Thinking about the actual quilting I pretty much decided on my own to just stitch all the seams 'in the ditch'. I did find a site www.generations-quilt-patterns.com full of information. That link goes to the instructions for actually doing the quilting.
Here I go - walking foot attached, thread picked, tested on a small sample - good to go...
um, not so much ... whaaat the heck ? Isn't this what the walking foot is supposed to PREVENT !?
a 1/2" tuck at the end of the seam...

A horrible drag the entire length of the seam !

...and a close-up of the stitching (proper tension and stitch length is at the bottom left, but just look a the variation all along the seam. And the part where the stitches are tiny is horrible !)

It took me about 5 days to figure out the problem. Multiple machines, all possible settings, different presser feet - yikes ! Finally I found a few forums talking about defective walking feet. Turns out they sometimes get stuck and can use oiling. I drenched the darn thing in oil and left it for a day. Tried again - still dragging. Drenched it again and tried later. The oiling helped and as long as I sewed really slowly it worked.
Half done

All done

No dragging, no tucks - so far, so good.

I didn't want to do separate binding. There were a few websites I found where you just cut the backing larger and fold it to the front for the binding. This is the one I used...Binding

Turning and pinning went quickly

This way of doing the mitered corners was really easy.


and looked good too :-)

All pinned

...and sewn - heading to the washer

Done and ready to wrap !


So, my first quilt was an all round success - done on time and new parents liked it.
What am I doing now ? Planning another one (this one only used half the fabric)


Lucky baby, and lucky parents! I always loved any handmade baby gift best of all - usually blankets and sweaters, Anyone can go buy something, but the time needed to make something special means so much! Your quilt came out beautiful, Claire.
ReplyDeletethe quilt is beautiful. excellent job!
ReplyDeleteWhat a beautiful quilt! I wished I have been into sewing and reading Kayla Green website so I had better chances of making my son’s quilt! Have you tried making it with a bit of padding, like an activity blanket once they start to crawl around?
ReplyDeleteWow. It looks totally professional. First quilt ever? So unbelievable. Bravo!
ReplyDeleteThis comment has been removed by a blog administrator.
ReplyDeleteIt's very colorful. Anybody loves it for sure
ReplyDelete